Cinematic Camera Angles Achievable with Zero Budget
Ever thought you could make stunning videos without spending a lot? Many think you need expensive gear to make great videos. But, it’s all about creative planning and how you set up your shots.
Looking at ai porn camera angles free guides can teach you a lot. They show you how to light and frame your shots like the pros. Learning these basics lets you tell compelling stories without spending a dime.
Key Takeaways
- Professional cinematography relies more on composition than expensive hardware.
- Planning your shots in advance saves time and improves visual quality.
- Use online resources to study framing techniques used by experts.
- Lighting and perspective are the most important factors for a cinematic look.
- You can produce high-quality content by mastering basic visual storytelling rules.
Mastering the Fundamentals of Visual Storytelling
You can transform your footage by mastering the core principles of cinematic composition. Visual storytelling is not just about the gear you own. It’s about how you arrange elements in your frame to guide the viewer. By learning these techniques, you can use camera angles free to develop a unique visual voice.
Understanding the Rule of Thirds and Composition
The rule of thirds is key for creating balanced and engaging frames. Imagine a grid on your screen, dividing it into nine equal rectangles. By placing your subject along these lines or at their intersections, you create a more dynamic and natural composition.
This technique prevents your shots from feeling static or centered. It lets the background breathe, telling a deeper story about the environment. Mastering this skill lets you use various camera angles free without being limited by amateur framing.
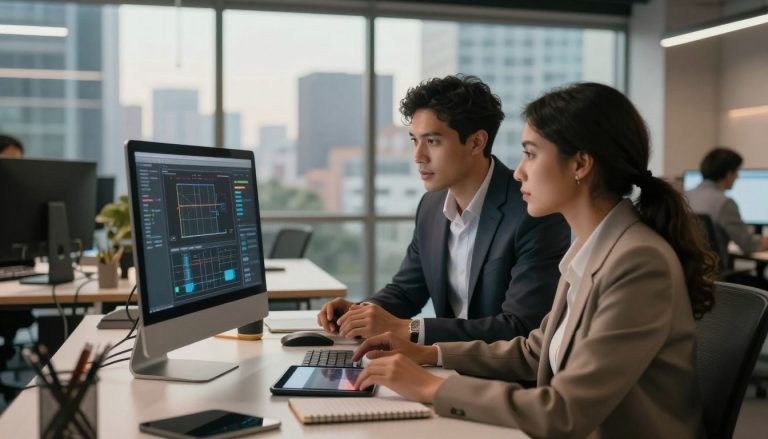
The Impact of Camera Height on Character Perception
The height of your camera greatly affects how the audience sees your characters. A small change in vertical positioning can change the psychological connection between the viewer and the subject. You can use these height variations to show power dynamics without needing expensive equipment.
| Camera Height | Emotional Effect | Best Use Case |
|---|---|---|
| Low Angle | Dominance and Power | Heroic or intimidating characters |
| Eye Level | Equality and Connection | Standard dialogue and interviews |
| High Angle | Vulnerability and Weakness | Portraying isolation or defeat |
Choosing the right height is a critical creative decision that sets your narrative tone. Experimenting with these positions lets you control the audience’s empathy. Always think about how your chosen angle supports the emotional arc of your scene.
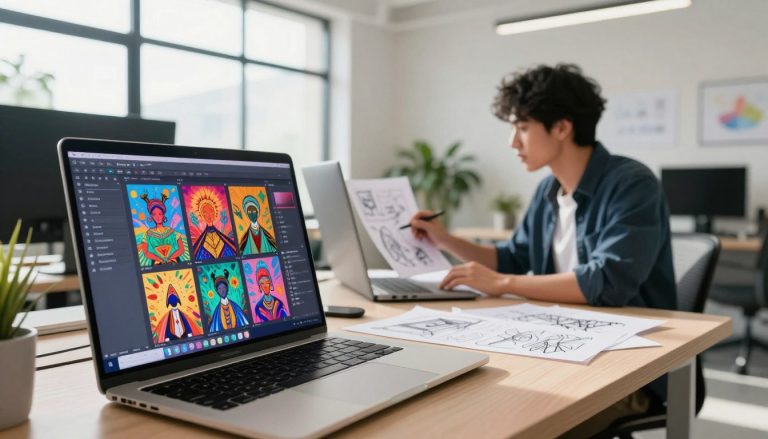
Utilizing AI Porn Camera Angles Free for Creative Inspiration
Studying professional framing techniques can boost your production quality. Many creators look at digital databases for different visual styles. They might search for ai porn camera angles free to learn about lighting and perspective.
The main lesson is to observe first. This is the key to mastering your craft.
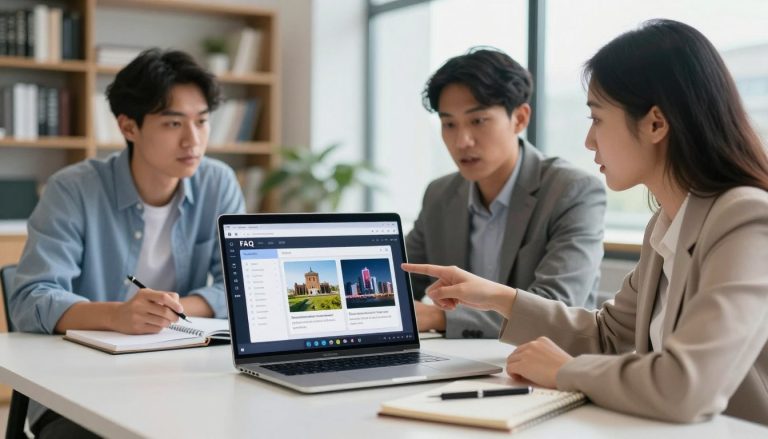
Analyzing Professional Framing Techniques
Professional cinematographers use geometric rules to guide the viewer’s eye. By studying high-end productions, you can learn about negative space and depth. Careful analysis helps you achieve professional looks without a big budget.
Begin by taking screenshots of your favorite films and sketching the camera angles. You’ll see that even complex shots follow simple patterns. This knowledge lets you create your own unique style.
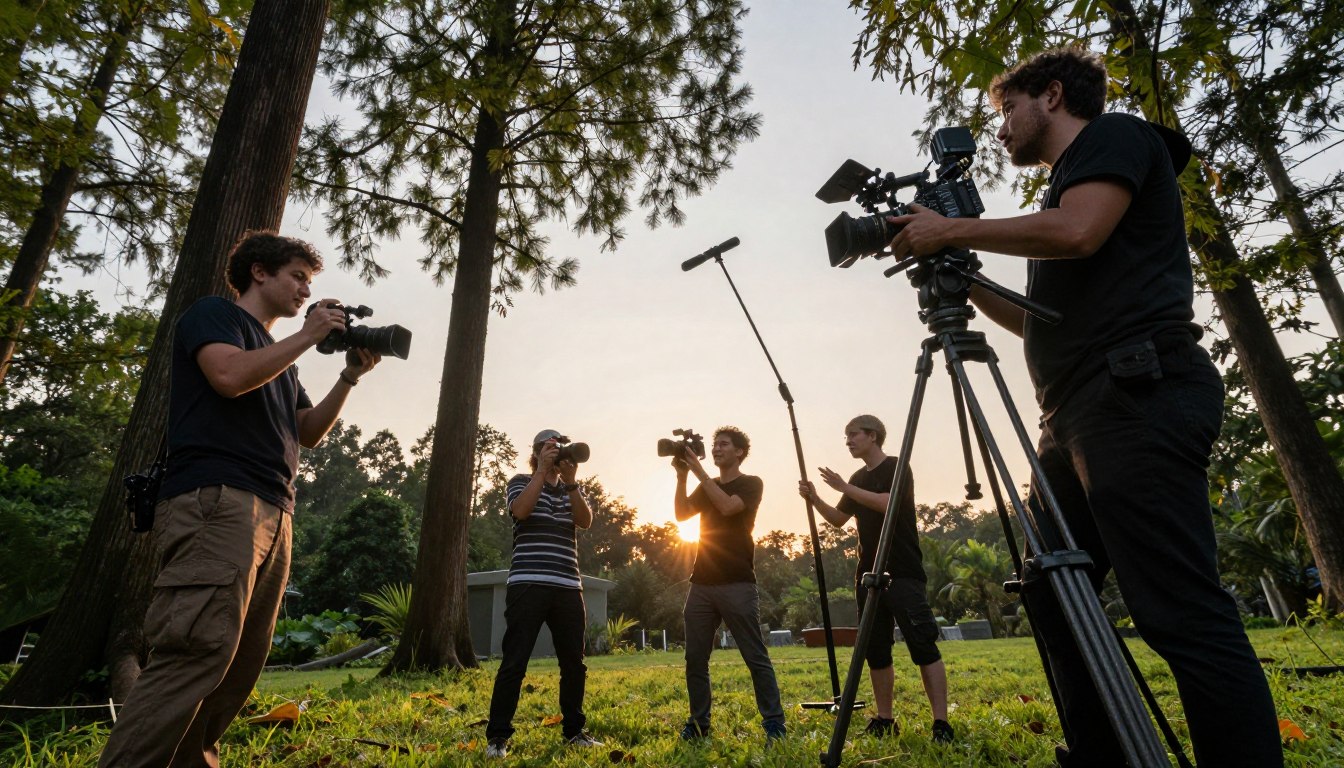
Adapting Complex Angles for Low-Budget Equipment
Don’t let limited space or gear hold you back. Edgar Wright made a film in a small broom closet at Pinewood Studios. If he could, you can adapt professional framing to your space.
When searching for inspiration, remember to adapt even complex setups to fit your needs. Looking for ai porn camera angles free can offer insights into framing tight shots in small spaces. Creativity thrives on constraints, so use your limited equipment to find new ways to capture the perfect shot.
Executing the Classic Eye-Level Shot
When you place the camera at eye level, you invite the audience into the character’s world. This perspective mimics how we naturally perceive others during daily conversation. By keeping the lens parallel to the ground, you create a sense of equality between the viewer and the subject.
Finding camera angles free of complexity allows your audience to focus entirely on the performance. This neutral positioning is the most effective way to establish a direct, empathetic connection. It removes the bias of power or vulnerability, letting the story speak for itself.
“The camera is the eye of the audience, and the eye-level shot is the most honest way to look into the soul of a character.”
Creating Connection and Empathy
Using an eye-level frame helps the viewer feel like they are standing right next to the actor. This proximity fosters genuine emotional resonance. When a character looks directly into the lens from this height, the impact on the viewer is profound.
You can use this technique to build trust or reveal hidden intentions. Because the angle feels familiar, the audience is less likely to feel manipulated by the cinematography. It is a powerful tool for grounded, character-driven narratives.
Stabilizing Your Smartphone or DSLR
Professional results do not always require expensive gear. You can achieve smooth, steady footage by using simple household items to support your camera. Even without a dedicated rig, your camera angles free of jittery movement are well within reach.
Try resting your device on a stack of books or a sturdy chair to maintain a level horizon. If you are shooting handheld, tuck your elbows tightly against your ribs to create a natural tripod effect. This simple adjustment significantly reduces unwanted shake and keeps your shots looking polished and intentional.
Remember that consistency is key to maintaining a professional aesthetic. By mastering these basic stabilization techniques, you ensure that your visual storytelling remains clear and engaging for every viewer.
Capturing High-Impact Low-Angle Shots
Putting your camera near the ground changes how people see your characters. This method is key in professional filmmaking. It makes viewers look up at the characters. Using these camera angles free, you can add emotion to scenes without spending a lot.
Establishing Power and Dominance
Low-angle shots make characters seem larger than life. When the camera is below eye level, the subject looks powerful and intimidating. This trick tells the audience who’s in charge or who’s a threat.
Directors use this to build tension. For instance, Edgar Wright used a Steadicam in Shaun of the Dead for a long take. He kept the camera low to hint at zombies. You can do the same by keeping your camera steady and low as your subject moves.
Safety Tips for Ground-Level Filming
Getting close to the ground can risk your camera. You need to protect your gear while using these camera angles free. Here are some tips to keep your equipment safe:
- Use a protective mat: Always place a towel or foam pad under your camera to prevent scratches and dust buildup.
- Secure your tripod: If you are using a tripod, spread the legs wide and keep the center column as low as possible to maintain stability.
- Check your surroundings: Before you start filming, ensure the ground is clear of debris or moisture that could harm your lens or sensor.
- Use a remote trigger: If you cannot get behind the camera, use a smartphone app or remote to trigger the recording without touching the device.
Implementing High-Angle Shots for Vulnerability
High-angle shots are key for showing a character’s vulnerability. By placing the camera above the subject, you make them seem smaller. This helps add variety to your shots and keeps viewers interested.
Creating a Sense of Isolation
High-angle shots show a character’s isolation well. The subject looks small and overwhelmed by their surroundings. This makes the viewer feel the character’s loneliness more.
Like in Baby Driver, using real-world framing is important. Showing the character against a big, empty space makes their struggles more intense. This adds a layer to the story that CGI can’t match.
Using Household Objects as Tripod Alternatives
You don’t need expensive equipment for high-angle shots. Household items can work as camera mounts. A stack of books, a kitchen chair, or a shelf can hold your camera steady.
For more height, try a tall ladder or a high cabinet. Make sure your camera is safe before filming. Using these DIY methods lets you try new angles without spending a lot.
Achieving Dynamic Dutch Angles for Tension
A simple tilt of the horizon line can change a normal shot into something intense. By tilting your camera, you make the viewer feel off-balance. This adds a powerful element to your shot variety, showing internal struggles or chaos.

When to Use Canted Frames
Save Dutch angles for when the story needs a new view. They’re perfect when a character is in deep confusion, paranoia, or a big realization. This way, the audience feels the same confusion as the character.
Use this angle in tense moments or in psychological thrillers. When the setting feels dangerous or unpredictable, a tilted frame adds to the unsettling atmosphere. It shows a world that’s slightly off.
Avoiding Overuse in Your Narrative
While Dutch angles are striking, using them too much loses their impact. If every scene is tilted, the audience gets used to it. You need to balance your shot variety well.
Apply this technique only at key moments in your story. Most shots should be level to create a sense of normalcy. Then, the tilted frames stand out more, making a bigger impact.
Mastering the Point-of-View Shot
Mastering the point-of-view shot changes how your audience sees your story. By putting the camera in your character’s eyes, you make a visceral connection that regular shots can’t. This method boosts your shot variety and keeps viewers engaged with the main character.
Immersing the Audience in the Action
Filming from a character’s view makes the audience feel like they’re part of the story. This immersive experience turns viewers into active participants, not just watchers. It’s great for intense moments where you want to show the character’s immediate reaction.
To use this angle right, match the camera height with the character’s eye level. If the character looks down, your camera should too. This subtle alignment lets the audience see the world as the character does, making scenes more emotional.
Techniques for Smooth Handheld Movement
You don’t need fancy gimbals for smooth handheld shots. The trick is in your body movement and weight distribution. Keep your knees bent and walk softly, like a “ninja”. This helps you absorb shock and keeps the horizon steady.
Another trick is to hold the camera with both hands and keep your elbows close to your body. This creates a natural tripod effect, reducing camera shake. With practice, you can keep your shots stable, even with basic equipment.
Creating Depth with Over-the-Shoulder Framing
Mastering the over-the-shoulder frame is key for better storytelling. This classic method makes your characters feel real. It makes the audience feel like they’re part of the talk.
By putting the camera behind one actor, you guide the viewer’s eye. This makes the person speaking the main focus.
Enhancing Dialogue Scenes
Filming conversations needs a clear setup between actors. An over-the-shoulder shot shows the listener’s shoulder or head in the front. The speaker is the main focus.
This dynamic composition shows where each person is in the room. It’s a must in professional cinema for realistic scenes.
Using this angle keeps your dialogue scenes engaging. It makes sure your scenes look great, even with simple tools.
Managing Focus and Background Blur
For a pro look, focus and blur are crucial. A shallow depth of field is your ally. It makes your subject stand out from the background.
By blurring the background, you focus the viewer’s attention on the actor’s eyes. If you’re using a smartphone or basic DSLR, increase the distance between your subject and the background. This creates more cinematic blur, adding depth.
Always check that your focus is on the speaker’s face. This keeps the emotional impact of your storytelling strong.
Utilizing Extreme Close-Ups for Emotional Intensity
Visual storytelling hits its peak when you let the audience see a character’s tiny facial changes. By focusing on the face alone, you remove distractions. This makes the viewer feel the character’s true feelings up close.

Focusing on Micro-Expressions
Extreme close-ups catch the tiny movements that show a character’s feelings. A small lip twitch or eye widening can mean more than words. These small signs are key to telling a strong storytelling tale, showing truths that words can’t.
You don’t need fancy lenses for this. Just get your camera close to the face and keep the eyes sharp. When the eyes are clear, the audience feels closer to the character’s story.
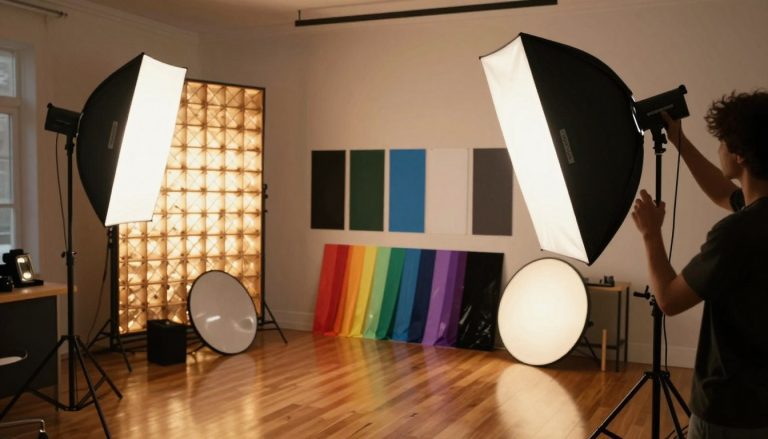
Lighting Tips for Tight Framing
Lighting a tight shot needs care to keep the viewer interested. Stay away from harsh, direct light that can blur the face’s details. Instead, use soft, diffused light to create soft shadows that add depth and dimension to the skin.
If you’re short on gear, use a white sheet or foam board to bounce light. This trick softens the light and brings out the skin’s texture. Good lighting is key for storytelling, guiding the viewer’s eye where you want.
| Shot Type | Emotional Goal | Lighting Strategy |
|---|---|---|
| Extreme Close-Up | Vulnerability | Soft, diffused side light |
| Medium Close-Up | Connection | Balanced three-point light |
| Wide Shot | Context | Broad, ambient illumination |
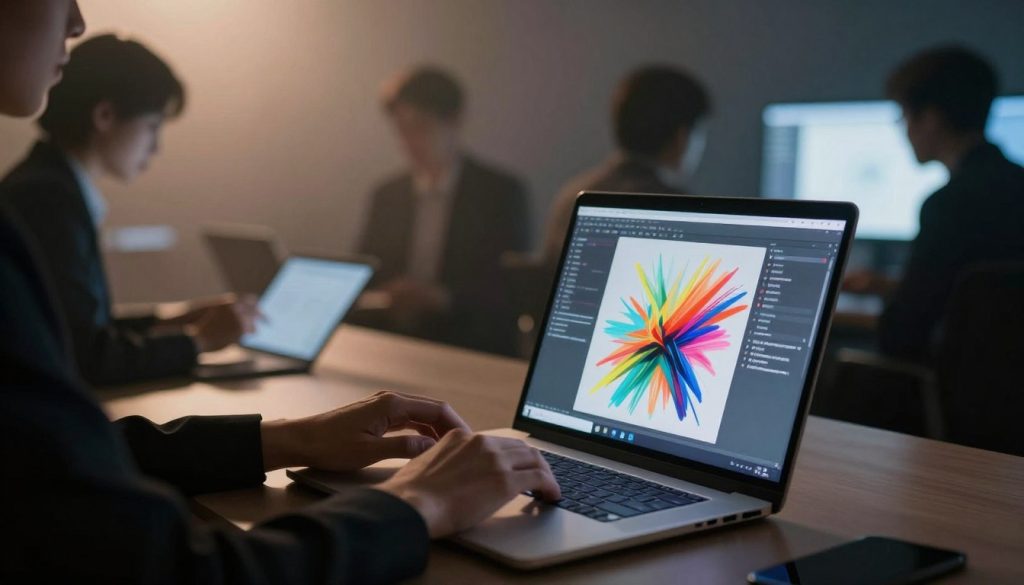
Advanced Movement Techniques Without Expensive Gear
To improve your storytelling, think creatively with items you already have. You don’t need a fancy dolly to get smooth camera moves. Using everyday objects can make your videos look professional without spending a dime.
DIY Dolly Shots Using Furniture
A dolly shot makes scenes feel more personal and dynamic. Put your camera on a smooth-rolling office chair or a flat cart. Make sure the floor is clean to avoid any bumps.
If DIY methods don’t work for you, consider renting gear. Many places offer weekend rates. This can be a smart way to get quality equipment for a day.
Creating Smooth Pans and Tilts
Smooth pans and tilts help guide the viewer’s eye. Place your camera on books or a sturdy table. A soft cloth or cardboard under your camera helps it move smoothly.
Keep your camera’s speed steady to keep the audience interested. Practice these moves before recording. This will help your storytelling stay clear and professional. Here’s how different items can help your production.
| Method | Best Use Case | Primary Benefit |
|---|---|---|
| Office Chair | Tracking shots | Smooth horizontal movement |
| Stack of Books | Static tilts | Adjustable height and stability |
| Kitchen Table | Wide pans | Large, flat surface area |
| Cardboard Base | Low-friction slides | Prevents surface scratching |
Learning these simple tricks can boost your storytelling skills without expensive gear. Focus on being consistent and patient. Keep trying new things to improve your camera movements.
Conclusion
You have the power to turn simple scenes into movies. It’s all about your creative choices, not the cost of your gear.
Learning to frame and move your camera is key. It lets you control how people see your story. This skill makes your videos stand out, turning them into real stories.
Try these tips on your next project to see big improvements. Play with angles to find what works best for you. The more you practice, the better you’ll get. Your hard work in storytelling will make you a great filmmaker.
FAQ
How can I achieve a cinematic look for my film without spending any money?
To get a pro look, learn about visual storytelling. Use the Rule of Thirds and intentional composition. You can also play with camera angles like eye-level or low-angle shots. This makes your shots more interesting with just your smartphone or DSLR.
What is the best way to create an emotional connection between the audience and my characters?
Eye-level shots are key for a deep connection. You don’t need fancy gear to keep your shots stable. Use everyday items or simple hand techniques to keep your story real and engaging.
How can I use camera positioning to make a character appear more powerful?
For a powerful look, use low-angle shots. Place the camera low to make the subject seem bigger. This trick adds emotional depth to your scenes without extra cost.
What should I use if I don’t have a professional tripod for high-angle shots?
Get creative with household items as tripods. Use books, ladders, or shelves for high shots. This adds variety to your shots without spending money on new gear.
How do I study professional framing techniques on a low budget?
Use digital resources to learn from directors like Edgar Wright. He used a broom closet for editing. By studying these examples, you can adapt pro angles for your budget, making your shots look polished.
Can I execute smooth tracking shots without a professional dolly track?
Yes, you can. Use furniture with wheels or slide your camera on a smooth surface. This DIY method can make your shots look professional and smooth.
When is it appropriate to use a Dutch angle in my narrative?
Use a Dutch angle for tension or unease. It adds flair but use it sparingly. This keeps the visual impact strong when it matters most.
How do I manage focus and depth during dialogue scenes?
Over-the-shoulder framing is key for dialogue. It adds depth and keeps the focus on the speaker. This technique is vital for character-driven scenes.
What is the benefit of using extreme close-ups?
Extreme close-ups capture micro-expressions for intense emotional scenes. Good lighting, even from a simple desk lamp, is crucial. It highlights the details that drive your story.