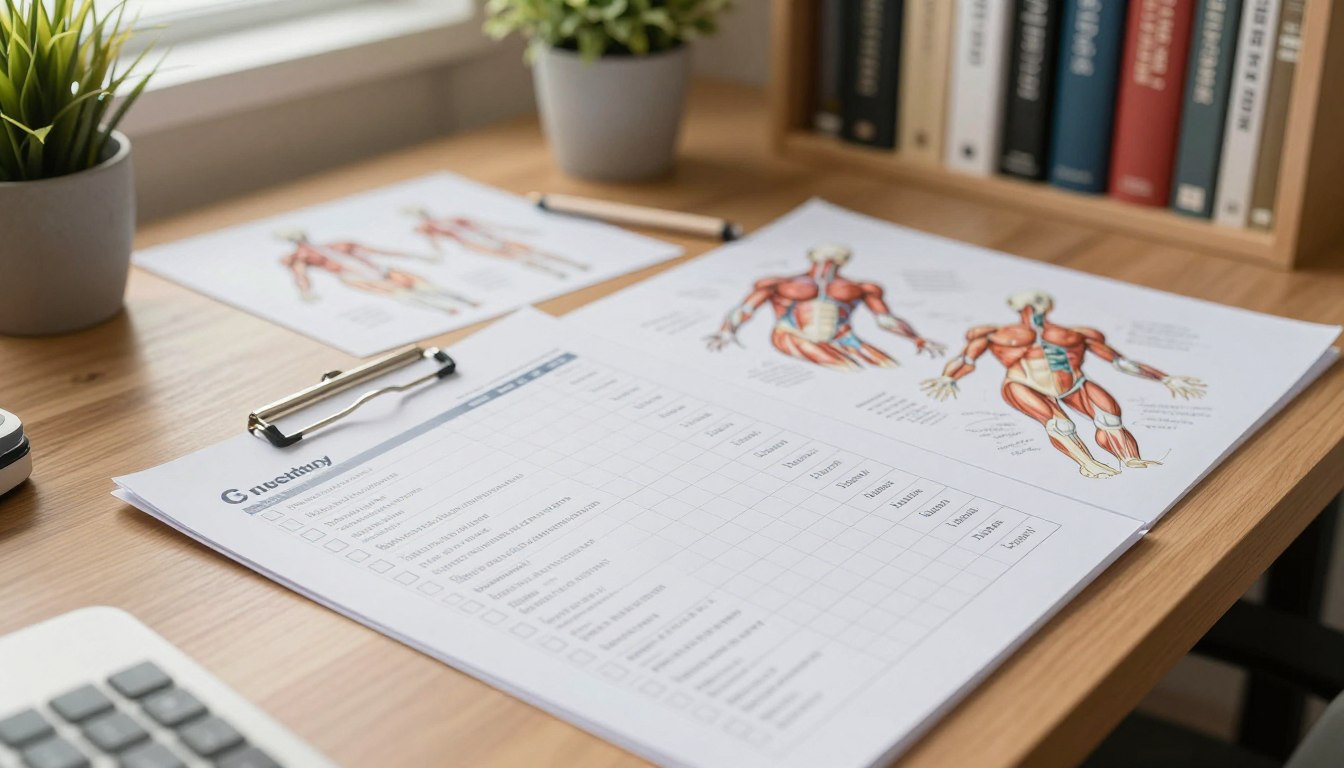
Anatomy Accuracy Checklist for Cost-Free Creators
Ever felt like your digital characters are almost perfect, yet something’s off? Getting true visual fidelity is more than just top-notch software. It’s about having a sharp eye for balance.
Many creators find it hard to get from idea to realistic model. To overcome this, a solid anatomy checklist is key. Regular proportion audits help spot small mistakes early. This keeps your models looking right all the way through.
Having a steady realism workflow is crucial for standout results. Whether using free ai porn anatomy tools or pro software, precision is your best friend. Let’s work on making your digital art top-notch.
Key Takeaways
- Establish a consistent routine to verify character proportions.
- Use a structured audit to catch common structural mistakes early.
- Prioritize realistic dimensions to improve the quality of your models.
- Adopt a professional workflow to ensure high-fidelity output.
- Focus on small details to achieve a more lifelike appearance.
Foundations of Anatomy in AI Generation
To get better results, you need to understand how machines see the human body. When you make images, you’re not just making art. You’re working with a system of numbers and chances. Knowing how AI-generated anatomy works is key to improving your digital art.
Understanding the AI Perspective on Human Form
AI uses lots of medical data to find patterns humans might miss. These models look for math links between pixels, not the body’s real functions. So, the human form AI often focuses on looks over real structure.
Think of these models as pattern finders. They don’t know about the connection between a shoulder and collarbone. They guess where pixels should be based on lots of images. This is why your images might look uncanny or wrong.
Why Standard Models Struggle with Complex Poses
Standard models find it hard with complex poses because they don’t get human movement. When you ask for a pose, the AI might not get how joints move or muscles work. This leads to a big gap between what AI thinks and real body limits.
The table below shows how AI sees the body versus real life:
| Feature | AI Interpretation | Physical Reality |
|---|---|---|
| Joint Rotation | Statistical probability | Fixed range of motion |
| Muscle Mass | Visual texture patterns | Volume and gravity effects |
| Skeletal Logic | Pixel-based alignment | Rigid bone structure |
| Weight Distribution | Shadow and highlight placement | Center of gravity balance |
By knowing these differences, you can guess where your AI might go wrong. Understanding these limits helps you tweak your prompts for better human form AI results. Learning AI-generated anatomy means learning to guide the AI toward more realistic images.
Mastering Free AI Porn Anatomy Tools
Using specialized open-source tools can give you full control over your character designs. Basic prompts often lead to distorted limbs, but professionals use structural frameworks for consistency. These technical solutions help you achieve high-quality free ai porn anatomy without common errors.
Selecting the Right Open-Source Models
Choosing the right base model is key to your workflow. Platforms like Stable Diffusion let you load custom checkpoints for human realism. These models are the engine of your creativity, providing data for accurate skin textures and muscle groups.
When picking a model, look for those that focus on anatomical integrity. Choose checkpoints trained on high-resolution datasets. This ensures the AI understands human proportions before you apply your prompts.
Utilizing ControlNet for Structural Guidance
With a stable model, you need to enforce physical constraints. ControlNet guidance is key for maintaining your characters’ structure. It tells the AI where limbs and joints should be in the final image.
This framework is crucial for creators who want more than basic prompts. It keeps your characters in anatomically correct positions, even in complex movements. Here are the main benefits of using structural guidance:
- Consistency: Keeps body parts in the correct relative positions.
- Precision: Allows for specific pose replication from reference images.
- Reliability: Reduces dislocated joints or extra limbs.
Setting Up Canny Edge Detection
Canny edge detection maps the outlines of your reference images. It identifies high-contrast lines for the AI to follow. This method is great for keeping the silhouette and shape of your character.
To use it, upload a reference image and enable Canny preprocessor. The tool will create a line drawing that guides the AI. This is crucial for improving your AI pose accuracy.
Applying OpenPose for Skeletal Accuracy
While Canny focuses on outlines, OpenPose works on the internal skeleton. It maps key joints like shoulders, elbows, and knees. This ensures your character’s limbs mimic real human movement.
Using OpenPose is the best way to achieve perfect AI pose accuracy. Combining it with ControlNet guidance prevents common anatomical failures. This combination is the secret to professional-grade results in free ai porn anatomy.
The Proportion Audit: Measuring Your Canvas
Creating realistic AI art starts with checking your digital canvas. A detailed proportion audit is key to match your character’s body ratios with human anatomy. This step helps avoid common mistakes in character design.

The Rule of Heads and Body Ratios
The rule of heads is a useful guide for measuring body parts. An adult’s height is usually seven and a half to eight head lengths. This helps you see if your AI art looks natural or not.
- Head to Torso: The torso is about three head lengths tall.
- Leg Length: Legs should be half the body’s height.
- Arm Reach: Arms should reach the mid-thigh when standing.
Identifying Common Scaling Errors in AI Outputs
AI models often get body ratio scaling wrong, making limbs look off. These mistakes happen when the AI tries to fill a pose without a clear guide. Spotting these issues early saves time later.
Watch closely for these common red flags in your outputs:
- Elongated forearms that don’t match the upper arm length.
- Torso width that doesn’t match the pelvic structure.
- Head size that looks too big or small compared to the shoulders.
Adjusting Aspect Ratios to Prevent Distortion
The size of your canvas affects how the AI sees human form. Using a square canvas for a full-body character can distort anatomy. Choose an aspect ratio that fits the pose you want.
To keep body ratio scaling right, make these adjustments:
| Pose Type | Recommended Ratio | Anatomical Benefit |
|---|---|---|
| Portrait | 2:3 or 9:16 | Prevents vertical compression |
| Full Body | 9:16 or 1:2 | Allows for natural limb extension |
| Landscape | 16:9 | Best for wide, dynamic action poses |
By doing a regular proportion audit, your figures stay realistic. Adjusting your canvas settings before creating will greatly improve your results.
Skeletal Structure and Joint Placement
When your AI-generated characters look stiff or broken, it’s often because of their skeletal structure. Getting skeletal alignment right is key to moving past amateur designs. This ensures your characters feel alive and natural.
Mapping the Spine and Pelvic Alignment
The spine is the main anchor for your character’s posture. If the back’s curve doesn’t match the pelvis tilt, your character will look wrong. Make sure the torso’s weight is over the hips for balance.
- Align the cervical spine with the center of the ribcage.
- Ensure the pelvic tilt supports the intended weight distribution.
- Check that the shoulders remain level unless the pose dictates a deliberate lean.
Ensuring Natural Range of Motion in Poses
Poor joint placement AI can make limbs bend in unnatural ways. Test your poses to see if they match human movement. Always consider the rotation of the ball-and-socket joints in the shoulders and hips before finalizing your prompt.
If a character is reaching for an object, the elbow and wrist must follow a logical arc. When the AI ignores these constraints, the resulting image often looks like a collection of disconnected parts rather than a cohesive body.
Correcting Dislocated Joints in Post-Generation
Even with the best prompts, you may occasionally encounter anatomical errors that require manual intervention. Correcting dislocated joints is a standard part of the professional workflow. You can use free image editing software to mask and shift misplaced limbs back into their proper sockets.
Focus on these key areas during your post-generation audit:
- Knee alignment: Ensure the patella faces the same direction as the toes.
- Wrist rotation: Verify that the hand connects naturally to the forearm.
- Ankle stability: Confirm that the foot supports the weight of the leg.
Muscle Definition and Soft Tissue Realism
You can make your AI characters look real by understanding soft tissue and muscles. It’s not just about the prompt. You need to know how AI skin texture looks under different lights. This makes your art look like professional work.
Anatomical Landmarks for Realistic Skin Texture
To make your characters look real, find the key body parts. Look for the clavicle, iliac crest, and scapula. These help the muscles look right.
AI can now use X-rays to learn about body density. Look for these features in your work:
- Bony prominences that create natural highlights.
- Subtle skin folds near joints that indicate movement.
- Variations in pore density that enhance AI skin texture.
Managing Weight Distribution and Gravity Effects
Gravity affects how soft tissue looks. When standing, muscles and fat pull down, making skin look tense. A “plastic” look breaks the illusion.
Observe how weight changes in poses. Always consider the center of gravity in action shots. This makes muscles look real when leaning or reaching.
Refining Muscle Groups for High-Fidelity Results
True muscle definition realism needs balance. AI models often make muscles too defined. Use negative prompts to soften this look.
Here’s how to improve your character’s look:
- Layering: Add fat over muscles with inpainting.
- Lighting: Use soft light to show muscle curves, not edges.
- Consistency: Keep muscle definition even across the body.
By following these tips, your characters will look more lifelike. With practice, you’ll get better at creating realistic art.
Hands and Feet: Overcoming Common AI Artifacts
When your AI output looks perfect everywhere except for the hands and feet, you need a targeted strategy to fix these complex areas. These body parts are hard for models to render because of their detailed bone and muscle structures. Precision is key to take your work from amateur to professional quality.
The Challenge of Digit Count and Finger Placement
Standard models often struggle with the geometry of hands, leading to common AI hand artifacts like extra fingers or fused digits. These errors happen because the training data has many overlapping hand positions that confuse the neural network. Look for signs of distortion, like unnatural finger length or missing knuckles, during your initial generation phase.
Using Inpainting to Fix Extremity Errors
Instead of regenerating your entire image, you can use inpainting to surgically correct specific areas. By masking only the hand or foot, you allow the model to focus on a smaller, more manageable canvas. This technique is highly effective for removing AI hand artifacts without altering the rest of your composition.
When using this method, keep your prompt simple and focused on the anatomy you wish to correct. Consistency is achieved by maintaining the same seed and model settings used in the original generation. This ensures that the lighting and skin texture remain uniform across the entire image.
Techniques for Natural Foot Arching and Toe Alignment
Achieving proper AI foot alignment requires understanding how weight distribution affects the arch of the foot. When a character is standing, the toes should follow a natural curve rather than appearing as a flat, uniform line. Use specific keywords like “arched foot” or “anatomically correct toes” in your inpainting prompt.
If the toes appear clumped together, try increasing the denoising strength slightly during the inpainting process. This allows the model more freedom to reconstruct the AI foot alignment based on your structural requirements. Proper attention to these details will significantly improve the realism of your final output.
| Error Type | Visual Symptom | Recommended Fix |
|---|---|---|
| Digit Count | Extra or missing fingers | Inpainting with mask |
| Joint Distortion | Bent or broken knuckles | Lower denoising strength |
| Foot Arching | Flat or unnatural sole | Prompt refinement |
| Toe Alignment | Fused or overlapping toes | Masking and re-generation |
Lighting and Shadowing for Anatomical Depth
Mastering light and shadow is key to making AI figures look real. Just like advanced imaging systems reduce damage and improve precision, your lighting setup must be precise. Good lighting for anatomy guides the viewer’s eye over the human form’s curves and ridges.
Using Light to Define Muscular Contours
Position your main light source at an angle, not straight on. This raking light method highlights muscle peaks and softens shadows in valleys. It helps show off the bicep, tricep, and deltoid muscles clearly.
Avoiding Flat Lighting That Obscures Anatomy
Flat lighting hides the textures that make skin and muscle look real. If your light is too spread out or right in the middle, your model looks flat. You need to increase contrast to show the skeleton beneath.
Applying Ambient Occlusion for Realistic Depth
Use ambient occlusion AI tools for a pro look. This method shows how much ambient light hits each scene point, creating soft shadows. It makes your character feel tangible and solid in the scene.
Ambient occlusion AI stops your models from looking like they’re floating. It adds weight and gravity, showing how skin and joints interact. With these shadows and careful light placement, your models will look incredibly real.
Implementing a Consistent Realism Workflow
Getting consistent results in AI art is not just luck. It takes a structured approach. By standardizing your creative process, you move from trial and error to predictable, high-quality outputs. This realism workflow is your roadmap to professional-grade anatomical accuracy.
Establishing a Step-by-Step Quality Control Process
Before finalizing any generation, you need a reliable AI quality control method. A formal anatomy checklist ensures you catch common errors early. This way, they don’t ruin your portfolio.
Here are steps to verify your work:
- Check for proper limb length and joint alignment.
- Verify that muscle groups follow natural tension patterns.
- Ensure that fingers and toes match the required count.
- Review the overall posture for realistic weight distribution.
Iterative Prompting for Anatomical Precision
It’s rare for the first prompt to be perfect. Instead, see your generation process as an iterative cycle. Start with a broad prompt and add specific anatomical descriptors to refine it.
If a specific area, like the shoulder or hip, looks distorted, focus on it in your next prompt. By isolating that region, you guide the model to correct structural flaws. This AI quality control technique is key for high-fidelity results.
Documenting Successful Seed and Parameter Combinations
The best creators keep a detailed log of their settings. When you find a great combination of seeds, samplers, and CFG scales, save it right away. This way, you can easily replicate your best work without starting over.
Use a simple spreadsheet to track your progress. By logging what works, you build a library of reliable presets. This streamlines your realism workflow. Consistency is the ultimate goal, and tracking your data is the fastest way to achieve it.
Advanced Post-Processing Techniques for Accuracy
Getting from raw AI output to a polished image is key for creators. Generative models are powerful but need a human touch for top quality. Post-processing AI workflows help refine details the software might miss.

Using Free Image Editors for Manual Corrections
You don’t need pricey software for great results. GIMP or Krita offer features for fixing small errors. Use these tools for surgical edits, like smoothing lines or fixing limb angles.
Manual tweaks are crucial when AI struggles with complex angles. Layers and masks help adjust body parts without messing up the whole image. This ensures your final image is both accurate and beautiful.
Blending AI Layers for Anatomical Cohesion
Making a seamless image means combining the best parts of different generations. Blending layers ensures all parts of your character look right together. This is especially important when one part is perfect but another isn’t.
Blend layers with soft brushes and low-opacity erasers for a natural look. Blending layers well hides seams between AI outputs, making your figure look real. Always check where skin meets clothes or backgrounds for a professional finish.
Final Touches for Skin Tone and Texture Consistency
Getting skin tone consistency right is the last step to a believable character. Different lighting or color on body parts can ruin the illusion. Use color-matching tools to make the skin tone even across the image.
Adding a grain or texture overlay can also help. It masks small errors and makes the skin look more real. By focusing on these meticulous details, your work will stand up to close inspection.
Conclusion
Mastering anatomical accuracy in AI generation is a journey. It combines technical skills with a deep understanding of the human body. You now have the knowledge to make machines create art that looks real.
Creating high-quality images every time is key. You can turn simple outputs into professional images by focusing on structure and bone alignment.
Practice and keep trying are your best tools. Every new image is a chance to get better at your prompts and settings.
You can control your digital creations fully. Try different models like Stable Diffusion or Midjourney to see how your skills improve your work. Your focus on details will make your images stand out.
Share your work with others to learn and grow. Your journey to perfection begins with the next image you make.
FAQ
Why do standard AI models like Stable Diffusion often struggle with complex human poses?
AI models struggle because they don’t understand how the human body works. They look at patterns in data, not how bones and muscles move. This is why you need to check the body’s structure in your images.
How can I use ControlNet to enforce better skeletal accuracy in my characters?
ControlNet helps by guiding the AI with a character’s frame. Use OpenPose or Canny edge detection to map out the character. This ensures limbs and joints are in the right places.
What is a proportion audit and how does it improve my digital art?
A proportion audit checks if your character’s size is correct. Use tools like Krita or GIMP to overlay grids. This helps avoid scaling errors and keeps your art looking right.
How do I fix dislocated joints or unnatural limb placement in post-generation?
To fix these issues, focus on the spine and pelvic alignment. Use tools like “Liquify” or “Warp” to adjust joints. This keeps the character’s movement realistic and natural.
What techniques can I use to define muscular contours more effectively?
To show muscles clearly, manage weight and use lighting. Highlight key areas like the serratus anterior. Ambient occlusion adds depth to muscles, making them look real.
How can I overcome common AI artifacts like “spaghetti fingers” or missing toes?
Fixing these issues with inpainting is effective. Isolate the problem area and prompt the AI to correct it. This ensures your image looks professional.
Why is lighting so important for anatomical realism in AI-generated images?
Lighting brings depth to your subject. Flat lighting hides important details. Use Chiaroscuro or directional light to show bone structure and skin texture.
What are the benefits of establishing a consistent realism workflow for my projects?
A consistent workflow keeps your work quality high. Document successful steps and use iterative prompting. This ensures your art is precise and unified.
How do I use free image editors to perform advanced anatomical post-processing?
Use free tools like Blender or Krita to refine your images. Blend AI layers to create a seamless final product. This lets you achieve your exact vision.